This page allows access to written instructions for parents or piano teachers looking to teach their children without the student video lessons.
Click here to access the Student Lessons in video format
This lesson should be preceded by:
These lessons begin shaping how the child thinks and processes the sounds that come from the piano.
Also make note that these lessons may take longer than one allotted lesson time. Go at the pace of the child. Do not rush. Take as much time or lesson slots to ensure everything is understood and covered for each course.

Written Instructions
Lesson 2:
Aim of the Lesson: To teach the names of some of the sounds and their places on the piano’s keyboard. The child cannot discover these names for themselves. They must be told that each of these musical sounds that comes from the piano has a name. We will begin to learn their names today.
a.) PITCH.
Preparation:
Review the last lesson and ask about the homework. Test the student’s knowledge by asking varying forms of these questions:
- What sort of string is the hammer striking now?
- Is this pitch high, low, or middle?
- Even though the keyboard is flat or level, how come we say to go up or down on the piano?
Method:
We hear all these sounds and different pitches on the piano. Every single one of these sounds has a name. They’ve been given names of some of the letters of the alphabet.
Have the student close their eyes. Play a sound and name the letter corresponding to the sound.
(In Mrs. Curwen’s method, the piano makes “sounds.” These are simply notes on the piano, but be careful what terms you use when you speak to the child. It shapes their thinking. The piano is an instrument made of pitches and sounds. We will now give a name to those sounds.)
Each of these sounds are quite easy to find on the keyboard. Let the student look at the keyboard and observe and describe what they see. Be sure to notice different groupings of the black notes.
Play a D one step above middle C.

This sound is called D. We teach a D first because it is easy to identify on the piano. It is in between a set of two black notes.

Which key gave the sound D?
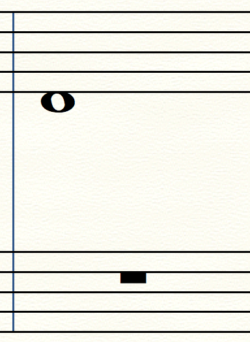
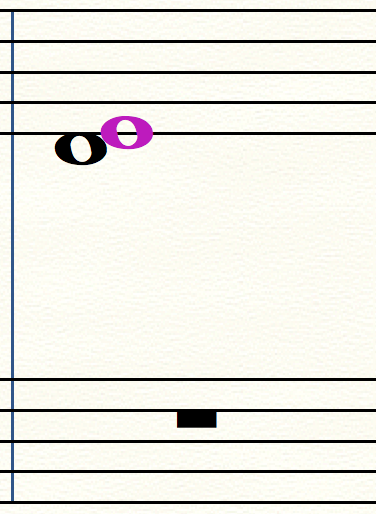
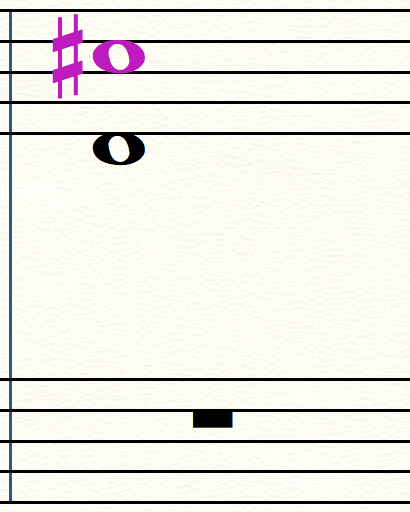
Now listen to these two sounds struck together? (Illustrated below.) Do they sound pretty?


What about these two sounds? (Illustrated below.) Do they sound pretty?


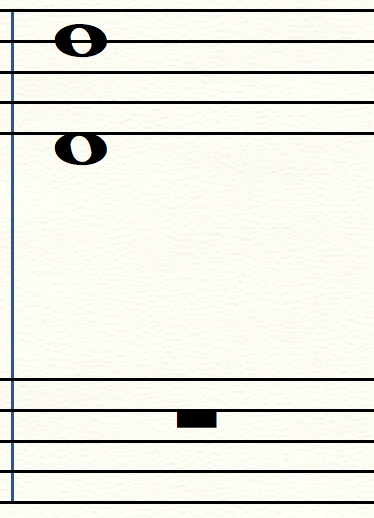
What about these two sounds? (Illustrated below.)


These last two sounds played at the same time go perfectly together. They seemed like one sound. Look and notice where the two keys were that the teacher played. What do we see?
They are in the same position on the keyboard. They are both between a set of two black notes. All the keys in between a set of two black notes have the same name.
Practice:
Ask the student to let the teacher hear all the Ds.
“Let me hear all the D’s is better than show me because we want to keep the attention upon the sounds.” (page 39, 31st edition.)
Using leading questions or experiment, allow the student to discover that although there are many many sounds on the piano, we only need seven different letters. The sounds begin to repeat themselves after we’ve played seven sounds up or down on the keyboard.
Allow the child to close his eyes to see if he can find all the Ds using only his ears and hands. Find the first D with his eyes open. Can he find the rest?
b.) Print on a piece of paper or a small white board the letters A, B, C, D, E, F, and G. (Slates work too! They just leave dust on the piano keys!) These are the letters we use to name the sounds on the piano. Place the letters in front of the child sitting at the piano.

How many letters do we see here?
Which letter is in the middle?
We see D in the middle. Which letter is to the left of D on the paper?
If C is to the left of D on the paper, which sound do you think is to the left of D on the keyboard?
What about to the right of D?
If we know the place of one sound, we can find out the places of several others.
Have the student find all the Cs and all the Es on the piano.

The teacher now plays a C, D, or E and ask the child to identify the sound by watching and listening.
c.) Continue work to the left and right letting the student identify B and F next. Always observe and notice the position of the keys on the keyboard.
Work through all the known sounds now. Ask to hear an E. Ask to hear a B at a low pitch. Ask to hear a C at a high pitch. Here the teacher is asking and the student is playing the keys.
Reverse the exercise now. The teacher chooses a key to play and allows the child to identify the name of the sound.
d.) Add A and G. Note how these lie farthest apart on the paper with the letters yet they like close together placed between the group of three black keys.
Repeat the same exercises as above using all seven letters. The teacher asks the student to find sounds on the piano. Then the teacher finds the sounds on the piano and asks the student to name them.

Let the child close his eyes and see if he can find the sounds using only touch and ears. Can he feel around for all the As? Fs? Can he hear how all the As sound the same?
N.B. – “Point to kept in view by the teacher – that the letter name belongs to the sound – the pitch – and only in a secondary sense to the [key].
There is no need to talk about the black keys at this point. If a child happens to ask about them, simply tell the student that the black keys borrow the names of their white neighbors, but since we don’t need to use them now, we don’t need to talk about them yet.
For all practical purposes in pianoforte playing it is enough that the player shall know the [key] which corresponds to each line or space of the staff. Hence, as I have said before, Pitch, on a keyboard instrument becomes chiefly a question of Locality. The danger is lest it should become altogether so, and the pupil forget – or never realize at all – that the letter names are the names of sounds. It is not necessary, or advisable, to trouble the child with this distinction; if the teacher’s mind is quite clear about it the wrong notion can be kept out of the mind of the pupil.” (page 41, 31st edition.)
Summary:
- Musical sounds have names.
- We call them by the names of some of the letters of the alphabet.
- We only need seven letter names.
- We learn to name the sounds of the white keys by noticing how the black keys are grouped.
- The sounds of the black keys have no names of their own.
Prepare for the next lesson here: Lesson 2b.
